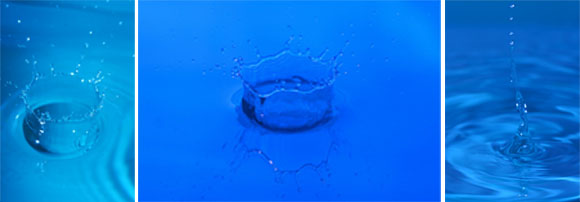
Early water drop photos.Water, milk, coloured water and coloured milk.
The photos with black background done with the DropControl V1. Other photos done with V2.
Arduino, ESP32/8266, Bluetooth, and stuff
Early water drop photos.Water, milk, coloured water and coloured milk.
The photos with black background done with the DropControl V1. Other photos done with V2.
I am now starting to built a version 2 solenoid breakout board. While the first one works I have learnt a bit more about controlling the valves. Here is the diagram from Fritzing. Added resistors in line with the diodes. The flyback diode may cause the the solenoid to release too slowly. Adding the resistor … Read more
Here is my solenoid valve controller; version 0.1. It can control 3 solenoid valves and has 2 triggers.
It is designed to control the valves and then send a signal to another Arduino which controls the camera. However, it can be connected directly to a camera if required.
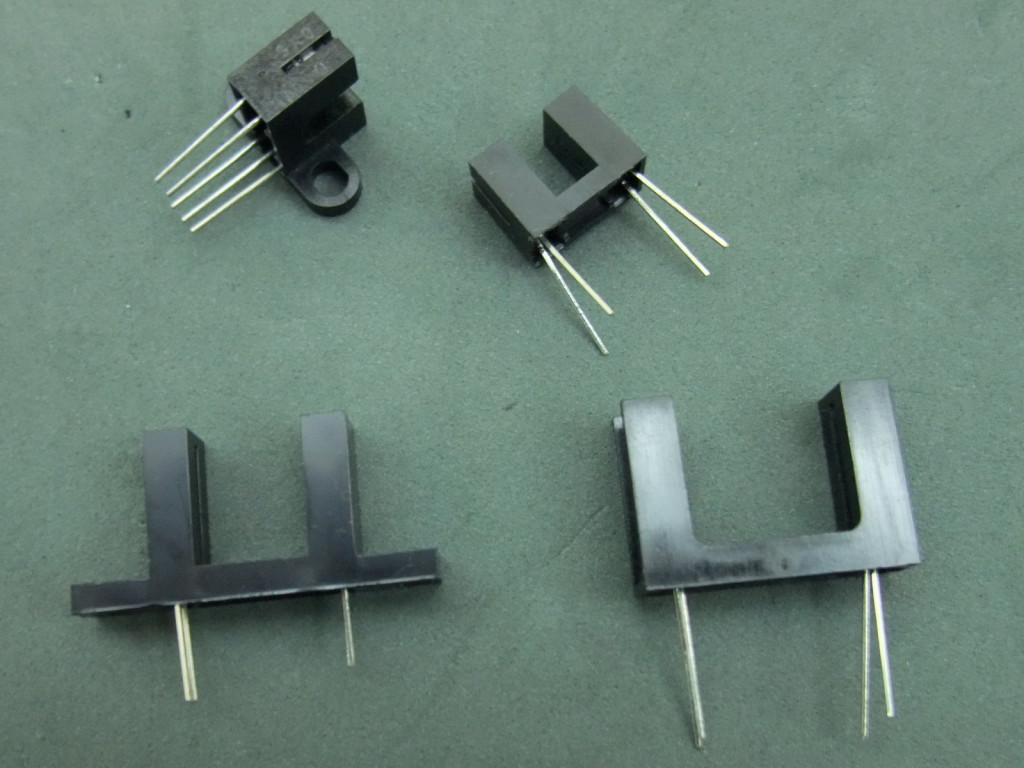
In an early version of the camControl device (before the dropController) I used an interrupter/optoisolator to detect the water drops. The plan was to detect the water drop, wait a little bit and then activate the shutter.
There are various different kinds of photo interrupter, different shapes and different sizes but all do the same job.

A photo interrupter has a LED at one side (normally IR) and a photo transistor at the other. When the LED in emitting light the photo transistor allows a current to flow. Remove the light and the current stops.
I started creating a controller using a single Arduino Nano on a breadboard. Although it was very basic it worked fairly well. It allowed me to control a solenoid valve and trigger the camera shutter. I also added basic camera control and a timelapse function (intervalometer). This part worked well. I could set the frequency … Read more
I had another session photographing water drops. The idea is to create two drops slightly apart. The first drop hits the water, rebounds and creates a column and then the second drop collides with the column. Sounds a lot easier than it really is. Here are some of the results. These are from plain water. … Read more
I wanted to try taking water drop photos and see what worked and what didn’t. Overall the results were better than I expected but not as good has I had hoped. Lighting is not good but I knew this from the beginning and concentrated on the drops and the timings. Working on the lighting can … Read more
There is now an updated and more detailed post. See Controlling a Solenoid Valve from an Arduino. Updated.
Using the Arduino to control the solenoid valve is simply a case of setting a pin high for the appropriate amount of time. There is, however, a caveat, the solenoid works at a different voltage to the Arduino and you cannot directly connect the two. In this case a TIP120 transistor is used as a bridge.
The TIP120 allows a small dc voltage (from the Arduino) to switch a larger dc voltage (12V to the solenoid). It can be thought of as a switch, applying a current to B allows current to flow between C to E.
There are several ways you can connect an Arduino to a DSLR so that you can use the Arduino to activate the shutter. I chose to use an optocoupler, sometimes called an optoisolator.
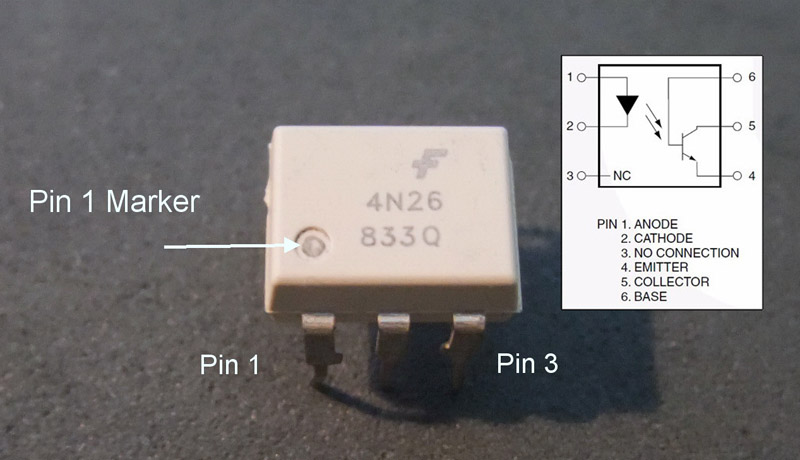
There are many types of optocoupler and you chose one based on the requirements of your circuit. My circuit is a 5V Arduino and a Canon 40D which has about 3.2V on the shutter release. Due to the relatively low voltages there are many suitable optocouplers to pick from. I already had a Fairchild 4N26 so this is the one I used.

Optocouplers are digital switches. They work by using an LED emitter paired with a photo detector transistor. This means they can be used to allow one circuit to switch a separate circuit without having any electrical contact between the two. Basically, if you put a current through pins 1 and 2 and light the LED the photo detector transistor detects the light from the LED and allows a current to flow through pins 5 and 4. No current on pins 1 and 2 means current does not pass through pins 5 and 4.
For quite a while I was looking at water drop photos and thinking about trying to do them myself. I finally gave it a go. My first try was simply making drops and trying to capture the splash. Everything was manual; the water drop, the shot, and it was very hit and miss. Mostly miss…

I did get some shots I liked but these are nothing compared to the shots from other people.
When researching online it quickly became apparent I wasn’t going to get better shots with the setup I had; which was a plastic bag with a small hole and hitting the shutter release like a maniac.