Turning a LED on and off with an Arduino, a HC-06 and Android

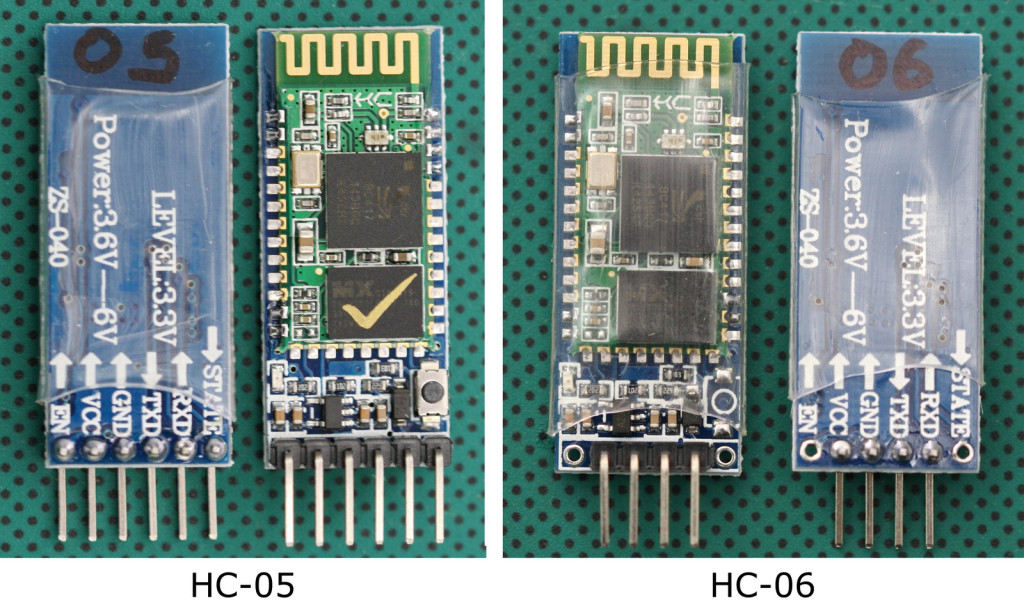
Although I use a HC-06 in the below examples the HC-05 in slave mode can also be used.

Using MITs app inventor it is fairly easy to create an app that can turn a LED on and off from an Android device.

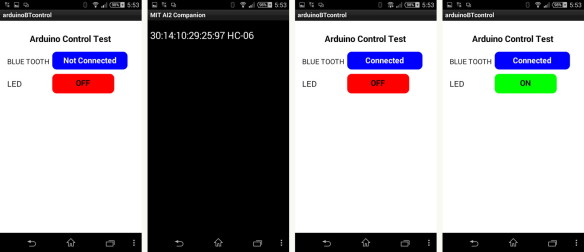
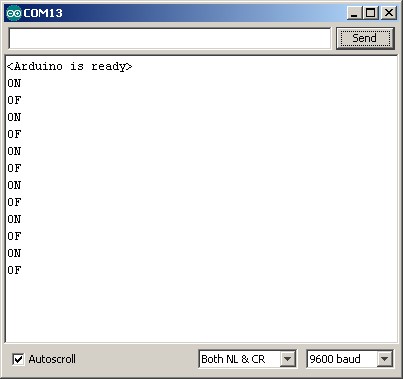
This is a fairly simply example of sending commands to the Arduino to turn a LED either on or off. The Android app sends ascii codes to the Arduino via the HC-06 BT module; “ON” for on and “OF” for off.

Load the app, connect to the HC-06 and then use the LED button to turn the LED on and off.

Arduino_Android_LED_AppUse_Screen_001
Arduino_Android_LED_on-off_1600

You can also open the serial monitor to see the commands as they are received
Arduino_Android_SerialMonitor

Read more

Arduino and HC-06 (ZS-040)

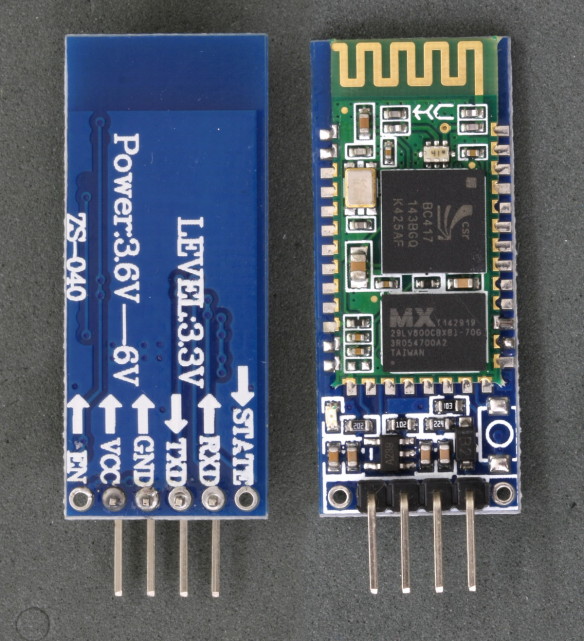
The HC-06 is a slave only BT module that is fairly easy to use with the Arduino using serial communication. Once it is connected it simply relays what it receives by bluetooth to the Arduino and whatever it receives from the Arduino it sends to the connected device. There are several slightly different versions of the HC-06, however, all seem to use the same firmware and have the same AT commands. The ones I have are labelled as zs-040. I also have some HC-05s which share the same PCB and are also labelled as zs-040.

HC-06 zs-040

The HC-06 defaults to AT mode at power on. This is indicated by a rapidly flashing LED. After the HC-06 is connected to another device the LED stops flashing and is constant on.

Read more

HC-05 and HC-06 zs-040 Bluetooth modules. First Look

Update: If you have modules that have a blue LED in the top left hand corner then you have a newer model with a slightly different firmware although they should operate the same.

I recently bought some HC05s and HC-06 Bluetooth modules. These are pretty standard, especially when using with the Arduino and I was surprised at how easy it was to get basic serial communication working. There are several slightly different modules available. The ones I have are marked zs-040. The zs-040 boards differ from some of the other modules in that they have a EN pin rather than a KEY pin.

HC-05 & HC-06 - ZS-040

Read more

Arduino / ATmega 328P fuse settings

Part of programming stand-alone ATmega chips is setting the fuse bytes, these are special settings that can be used to change how the ATmega chips operate.

Some of the things you can do by changing the value of the fuses include;

  • select different clock sources and change how fast the chip runs,
  • set the minimum voltage required before the chip works.
  • set whether or not a boot loader is used,
  • set how much memory is allocated to the boot loader,
  • disable reset.
  • disable serial programming
  • stop eeprom data being erased when uploading a new sketch.

There are many articles online but I could not find a single source that brought all the information together and fully explain what the fuses actually do.

It is important to remember that some of the fuse bits can be used to lock certain aspects of the chip and can potentially brick it (make it unusable). However, with a bit of care it is fairly straight forward to understand and use the fuse settings.

Disclaimer, I am relatively new to programming fuses and these are notes I wrote to help me remember things. The information is based on the data sheet for the ATmega chip, internet searches, and questions I asked on forums (especially the Arduino forum).

Read more
Arduino Nano as an ISP Programmer

05.12.2015 Updated the photos.
 

In a previous post I showed how to make your own Arduino on a breadboard. The next step is programming it.
 

Using an Arduino Nano to program a ATmega328P chip

ArduinoISP_001_1600

There are many guides online on how to use an Arduino to program a ATmega chip, two goods ones are:
Using an Arduino as an AVR ISP (In-System Programmer)
Nick Gammon’s guide

If you google “using Arduino as a programmer” you will find most of the results are for using an UNO, very few are for the Nano. One Nano guide I did find is at Lets Make Robots This explains how to set up the Nano but it does not clearly show how to program a stand alone Atmega chip.

Read more

Arduino on a breadboard

Breadboard Arduino / Stand Alone ATmega328P

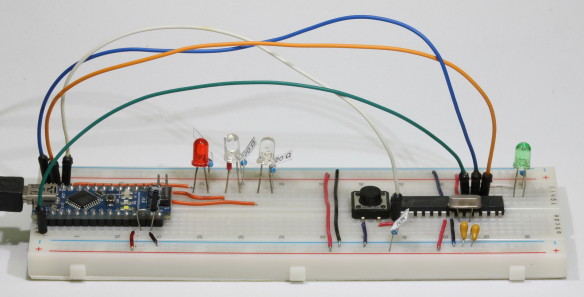
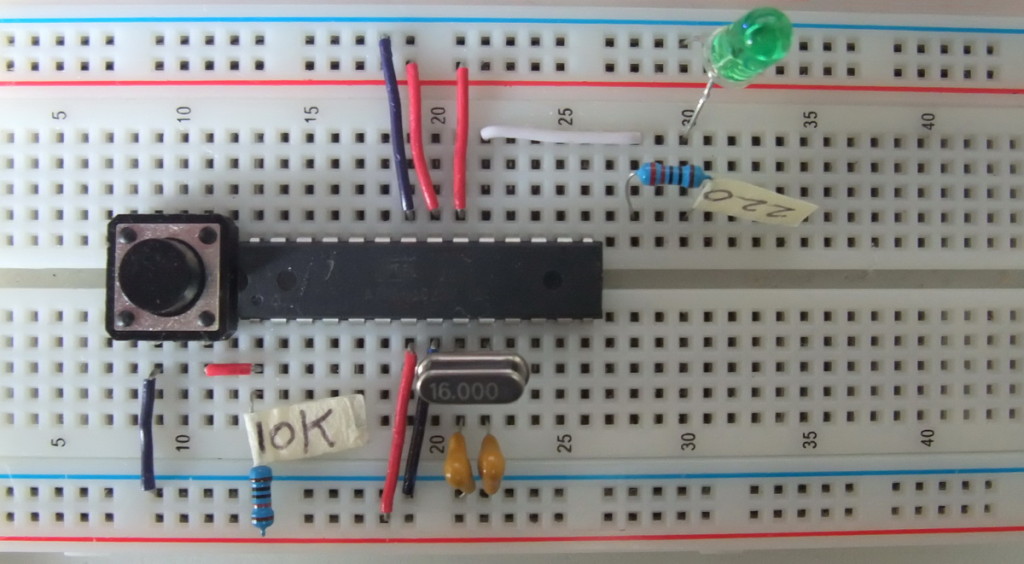
Here is my Arduino on a breadboard. There are many online guides for creating a breadboard Arduino. All are basically the same and follow the same connections. Some use pre-programmed chips, others use blank chips. My intention was to use a new blank ATmega chip (no boot loader) and use an Arduino Nano as an ISP programmer.

ArduinoBreadboard_001_1200

Read more

12V to 5V / 6V

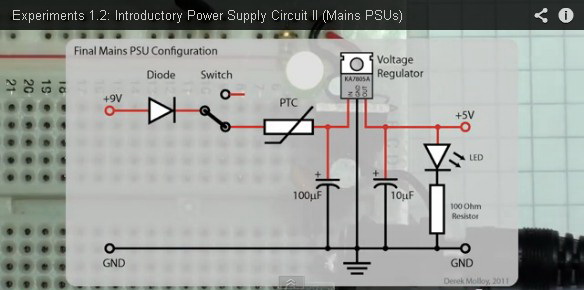
I have never been happy that my first version of the drop controller had 2 different power supplies; a 12 volt supply for the solenoid valves and a second 5 volt supply for the Arduino, so I looked for a way to share the 12 volt supply. After a short search I came across Derek Molloy’s video on Youtube. This describes making a 5 volt power supply from a mains adaptor.

PSU Circuit

Full video after the break

Read more

Keypads and Button Switches on the Arduino

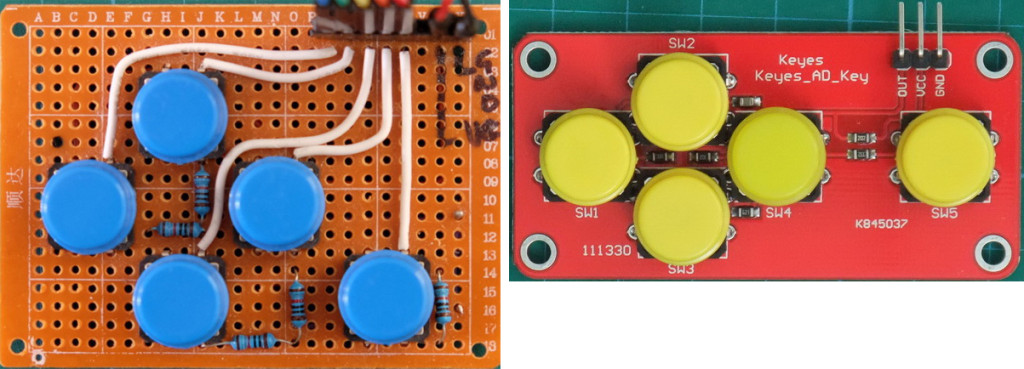
Keypads used in the dropController
Digial keypad on the left. Analogue keypad on the right.

When I first started building the dropController and the camController I could not find suitable navigation keypads, the ones I did find were expensive or not really suitable, so I built my own. These were simple keypads and follow the normal wiring for press button switches. This means each of the push button switches is wired to a separate pin on the Arduino. This obviously means you need 5 pins. This was fine until I wanted to add extra solenoid valves and realized I didn’t have enough spare pins.

I starting looking for pre-made keypads again and came across the Keyes Keypad on Taobao. These are cheap and smaller than the keypads I made. They also use a single pin. These are analogue keypads that use a single analogue pin on the Arduino.

Read more

Solenoid breakout board V2

I am now starting to built a version 2 solenoid breakout board. While the first one works I have learnt a bit more about controlling the valves. Here is the diagram from Fritzing. Added resistors in line with the diodes. The flyback diode may cause the the solenoid to release too slowly. Adding the resistor … Read more

Drop Control V0.1

dropControl

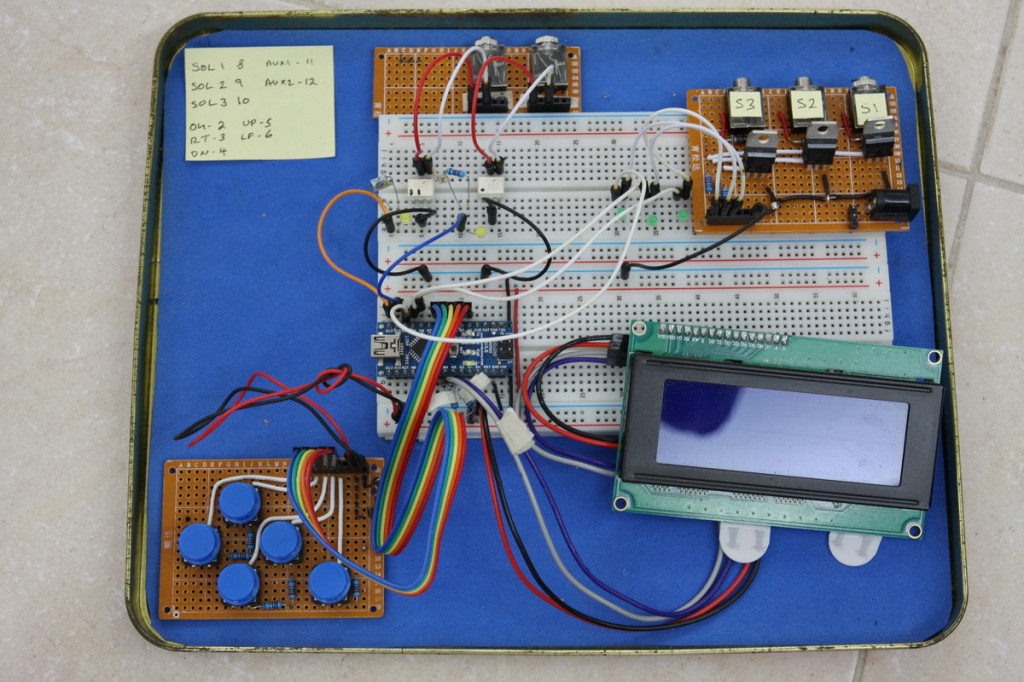
Here is my solenoid valve controller; version 0.1. It can control 3 solenoid valves and has 2 triggers.

It is designed to control the valves and then send a signal to another Arduino which controls the camera. However, it can be connected directly to a camera if required.

Read more

Breadboarding components

When building prototypes on breadboards I find it useful to have small pre-made components such as 3.5 stereo jack sockets configured to fit breadboards The 3.5 stereo socket is attached to a small piece of board and the connectors from the socket attached to pins that fit in to a breadboard. Red is VCC, black … Read more

Connecting a photo interrupter/optoisolator to an Arduino

In an early version of the camControl device (before the dropController) I used an interrupter/optoisolator to detect the water drops. The plan was to detect the water drop, wait a little bit and then activate the shutter.

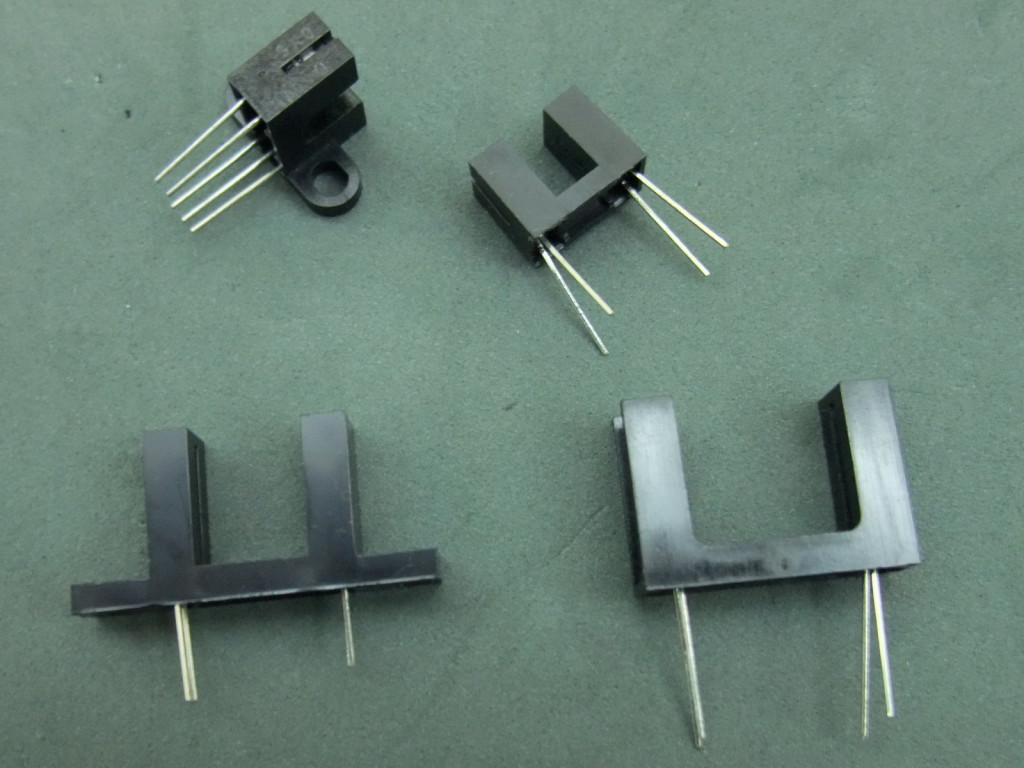
There are various different kinds of photo interrupter, different shapes and different sizes but all do the same job.
Photo interrupter

A photo interrupter has a LED at one side (normally IR) and a photo transistor at the other. When the LED in emitting light the photo transistor allows a current to flow. Remove the light and the current stops.

Read more

Photographing Water Drops: Second Go

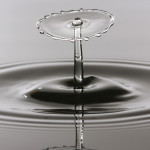
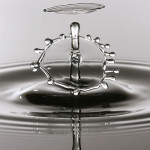
I had another session photographing water drops. The idea is to create two drops slightly apart. The first drop hits the water, rebounds and creates a column and then the second drop collides with the column. Sounds a lot easier than it really is. Here are some of the results. These are from plain water. … Read more

Controlling a Solenoid Valve from an Arduino

There is now an updated and more detailed post. See Controlling a Solenoid Valve from an Arduino. Updated.

 
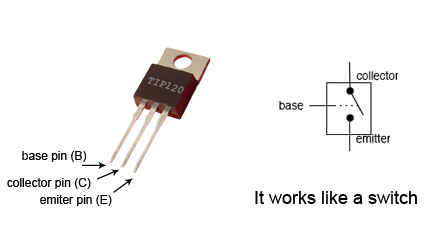
Using the Arduino to control the solenoid valve is simply a case of setting a pin high for the appropriate amount of time. There is, however, a caveat, the solenoid works at a different voltage to the Arduino and you cannot directly connect the two. In this case a TIP120 transistor is used as a bridge.

TIP120

The TIP120 allows a small dc voltage (from the Arduino) to switch a larger dc voltage (12V to the solenoid). It can be thought of as a switch, applying a current to  B allows current to flow between C to E.

Read more

Soleniod Valves

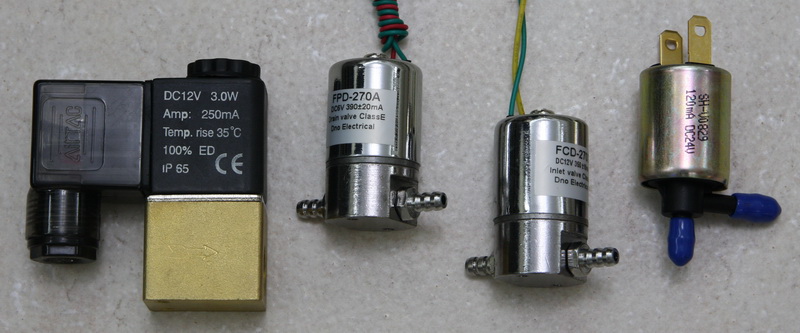
Solenoid valves are used to control the flow of liquids and gasses and they are an ideal way to create water drops. To get started I purchased a small range of different solenoids with the intention of testing them out and seeing which was the best. Solenoids

Read more

Using an Arduino and a optocoupler to activate a camera shutter

There are several ways you can connect an Arduino to a DSLR so that you can use the Arduino to activate the shutter. I chose to use an optocoupler, sometimes called an optoisolator.

Optocoupler

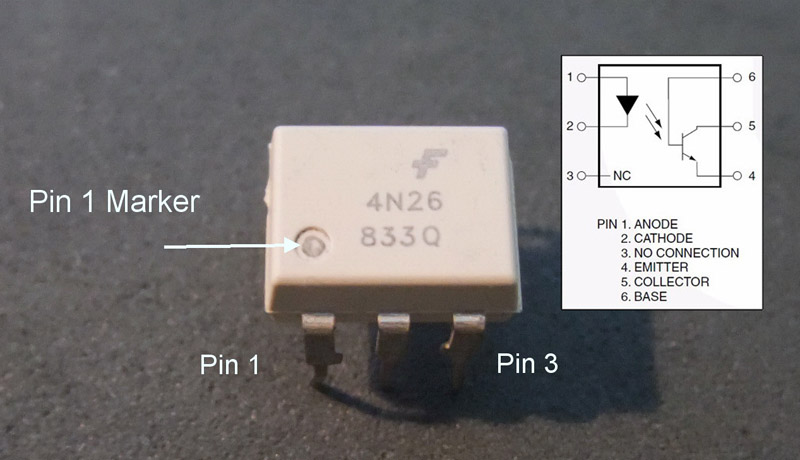
There are many types of optocoupler and you chose one based on the requirements of your circuit. My circuit is a 5V Arduino and a Canon 40D which has about 3.2V on the shutter release. Due to the relatively low voltages there are many suitable optocouplers to pick from. I already had a Fairchild 4N26 so this is the one I used.

4N26

4N26

Optocouplers are digital switches.  They work by using an LED emitter paired with a photo detector transistor. This means they can be used to allow one circuit to switch a separate circuit without having any electrical contact between the two. Basically, if you put a current through pins 1 and 2 and light the LED the photo detector transistor detects the light from the LED and allows a current to flow through pins 5 and 4. No current on pins 1 and 2 means current does not pass through pins 5 and 4.

Read more

Photographing Water Drops

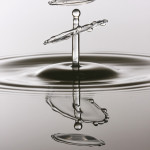
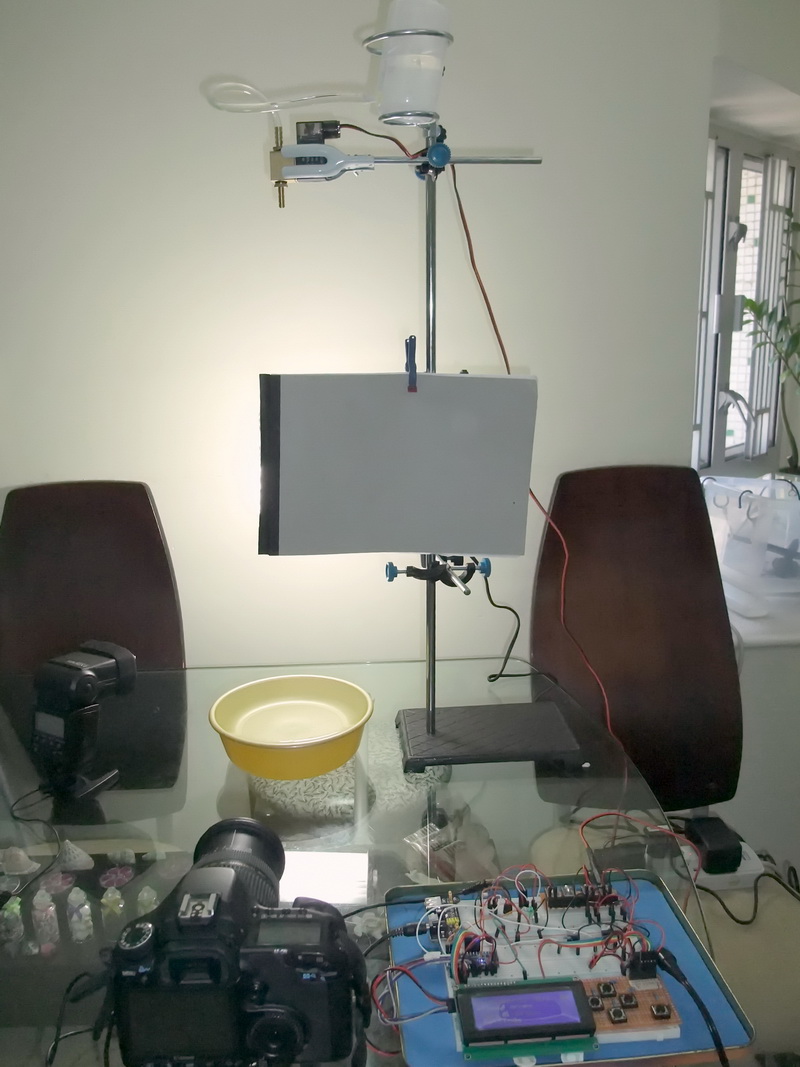
For quite a while I was looking at water drop photos and thinking about trying to do them myself. I finally gave it a go. My first try was simply making drops and trying to capture the splash. Everything was manual; the water drop, the shot, and it was very hit and miss. Mostly miss…

Early attempts at photographing water drops
I did get some shots I liked but these are nothing compared to the shots from other people.

When researching online it quickly became apparent I wasn’t going to get better shots with the setup I had; which was a plastic bag with a small hole and hitting the shutter release like a maniac.

Read more